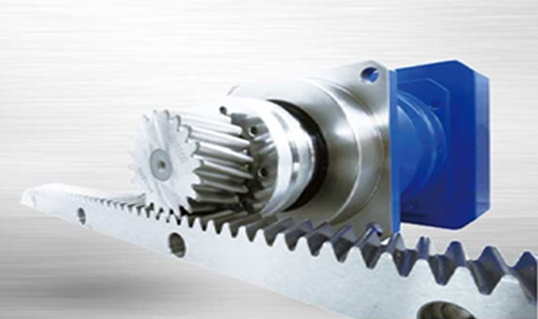
First, we need to check the bearings of the gearbox. The procedure is to first clean with heated mineral oil, and then clean until the inner ring is gently rotated by hand, and no clamping is found in any direction. After cleaning is complete, check the feeler gauge with a feeler gauge. Secondly, we need to check the worm gear of the gearbox. Make sure there are no broken teeth in the worm gear. The surface of the tooth should not be cracked or peeled. If any of the above symptoms occur, the worm gear or tooth surface must be replaced immediately.
In addition, it is the inspection of the gearbox shaft. We must ensure that the ovality and taper on the shaft diameter cannot be greater than 0.015-0.025mm. The shaft is adapted to the dimensional roughness of the shaft to meet the technical requirements of the drawing. When the tolerance is 0.02mm, it can be reused, 0.02mm. The above needs maintenance before use, and the shaft width does not exceed the limit size of 0.04 mm and can be reused. For those exceeding the 0.04mm limit size, they should be replaced. Finally, check the checkered housing and bearing caps.